
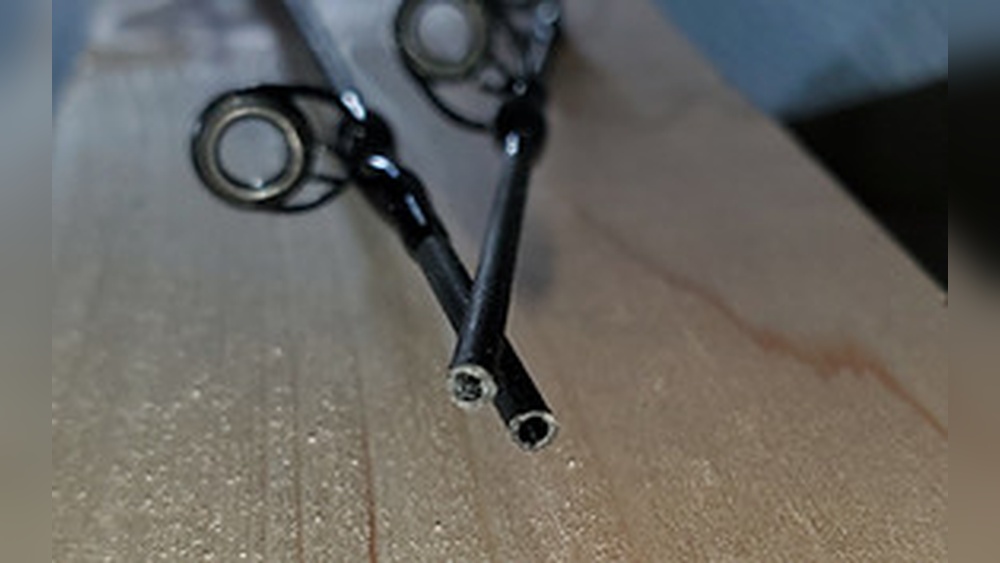
Fixing a snapped fishing rod can feel overwhelming, especially if you’re new to fishing or have never repaired gear before. Many anglers think a broken rod is the end—but that’s not always true. With some patience, basic tools, and the right method, you can restore your favorite rod and get back on the water.
This guide walks you through every step, shows what materials you need, highlights common mistakes, and offers tips to keep your rod strong for the next big catch.
Understanding Why Fishing Rods Snap
Before you can fix a broken rod, it helps to know why rods break in the first place. Fishing rods are made from materials like graphite, fiberglass, or a composite. Each material has its own strengths and weaknesses. For example, graphite is light and sensitive but more fragile, while fiberglass is tougher but heavier.
The most common reasons rods snap are:
- High stress: Fighting a large fish or trying to pull your line free from a snag can overload the rod.
- Improper transport: Closing car doors on rods, or storing them in crowded spaces, can cause accidental breaks.
- Incorrect assembly: For multi-piece rods, not aligning the sections properly can cause weak points.
- Wear and tear: Over time, small cracks or chips from bumps and drops can weaken the rod.
A surprising fact: Many rods break not during the fight with a fish, but during transport or simple handling. This means prevention is often easier than repair.
Assessing The Damage
Not all rod breaks are the same. Some can be fixed easily, while others require more skill or tools. Take a close look at the break:
- Clean snap (straight across): Often fixable with a sleeve or insert.
- Splintered or shattered: Harder to fix, but sometimes possible if the pieces fit well.
- Broken tip: Usually the easiest to repair, often with a replacement tip.
- Internal cracks: If the rod seems intact but feels “soft” at one spot, it may be unsafe to repair.
Check if all pieces are present. If you’re missing any, especially the tip, you’ll need replacement parts. If the break is near the handle or reel seat, repairs are tricky and may not last.
Deciding: Repair Or Replace?
Some breaks are simply not worth fixing. If your rod was inexpensive, or the break is severe (especially near the handle), buying a new rod may be smarter. However, if the rod has sentimental value or is high-quality, a repair can be rewarding.
Here’s a quick comparison to help you decide:
| Repair | Replace |
|---|---|
| Cost-effective for minor breaks | Necessary for severe damage |
| Maintains sentimental value | Upgrades to newer technology |
| Good for practice or backup rods | Ensures full rod strength |
If you choose to fix your rod, read on for the full process.
Gathering Tools And Materials
You don’t need professional tools, but having the right materials makes the job easier. For a basic repair, you’ll need:
- Epoxy glue (2-part is best for strength)
- Sandpaper (fine grit, 220–400)
- Rod sleeve or insert (fiberglass or graphite tube, slightly smaller than rod diameter)
- Thread (for wrapping, optional)
- Heat gun or lighter (for tip repairs)
- Cutting tool (fine saw or sharp knife)
- Clear finish or rod varnish
You can find most items at a fishing shop or hardware store. For sleeves, old broken rods can provide material—just cut a piece to size.
Repairing A Snapped Rod In The Middle Section
A break in the middle of your rod is common. Here’s how to fix it step by step:
1. Clean The Break
Lay out both pieces. Use sandpaper to smooth the broken edges. Remove any loose fibers. This helps the glue bond well.
2. Prepare The Sleeve
Find a fiberglass or graphite sleeve that fits snugly inside (or outside) the rod blank. The sleeve should be 4–6 inches long—enough to bridge the break with at least 2 inches on each side.
If the sleeve fits inside the rod, test both pieces for a snug but not too tight fit. If the rod’s diameter is too small, use the sleeve on the outside.
3. Dry Fit
Without glue, slide the sleeve and both rod pieces together. Make sure the rod is straight. Adjust as needed.
4. Apply Epoxy
Mix the epoxy according to instructions. Use a small brush to apply a thin layer inside the rod ends and on the sleeve. Slide the pieces together, aligning the guides (the rings for the fishing line).
Wipe off excess glue. Make sure the rod is straight—this is important for casting accuracy.
5. Secure And Dry
Tape or clamp the joint gently. Leave it to dry for at least 24 hours in a warm, dust-free area.
6. Wrap For Extra Strength (optional)
Once dry, wrap the repaired area with rod thread or strong nylon thread. Keep the wraps tight and even. Cover with a thin layer of epoxy or rod varnish for a smooth, durable finish.
7. Test The Rod
After a full cure (usually 48 hours), flex the rod gently. If it feels solid, your repair is done.
Pro tip: Most beginners rush the drying process. Don’t use your rod before the glue is fully cured—it will break again.
Fixing A Broken Rod Tip
The rod tip is the thinnest and most flexible part, so it snaps easily. Luckily, it’s also the simplest to fix.
1. Buy A Replacement Tip
Measure the diameter of the broken rod tip. Buy a replacement tip (also called tip-top guide) with the same or slightly larger diameter.
2. Remove Old Tip (if Needed)
If the old tip is still attached but damaged, heat it gently with a lighter or heat gun. Pull it off with pliers.
3. Smooth The End
Use sandpaper or a file to smooth the broken rod end.
4. Attach New Tip
Apply a small amount of hot melt glue or super glue to the rod end. Slide on the new tip, align it with the guides, and let it cool.
5. Check Alignment
Make sure the new tip lines up with the rest of the rod guides. If not, reheat and adjust.
Non-obvious insight: If you cut more than an inch from your tip, the rod action (its flexibility) will change. The rod may become stiffer. This affects casting and lure control.
Repairing A Splintered Or Crushed Rod
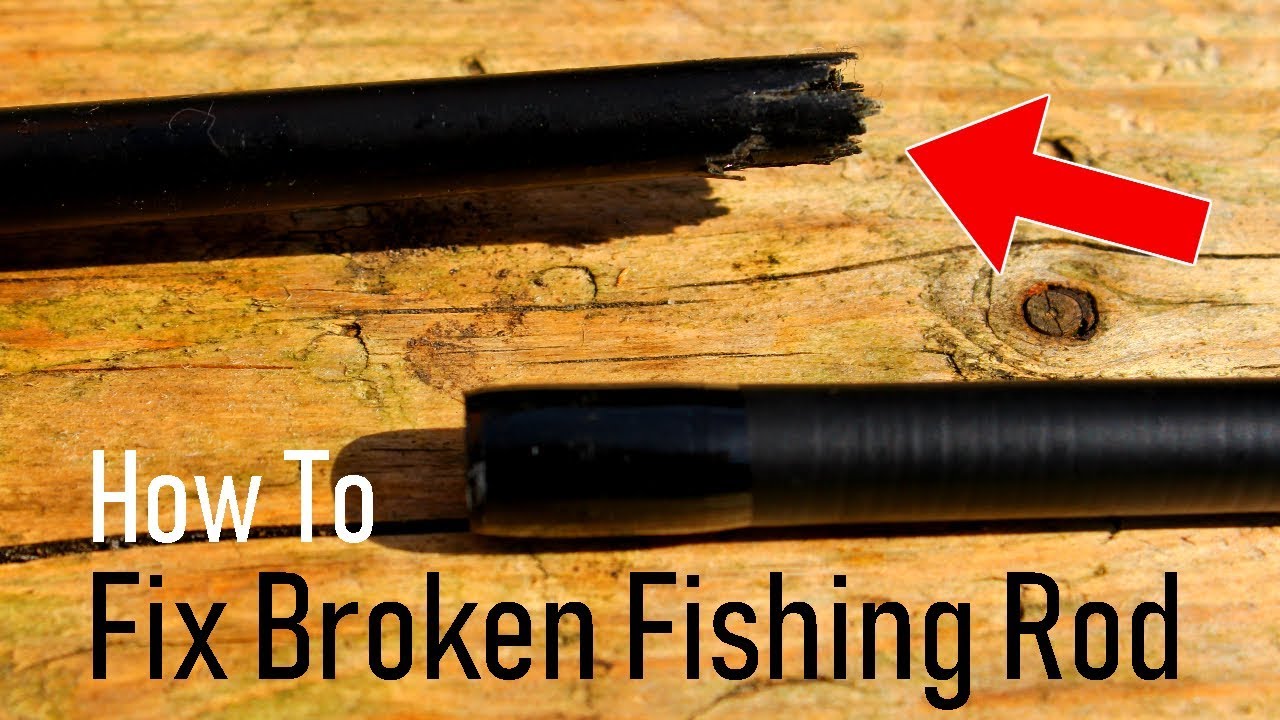
When a rod is splintered but not completely broken, you can sometimes save it.
- Trim the splinters: Use a sharp blade to remove loose fibers.
- Sand the area: Smooth the damaged zone.
- Apply epoxy: Coat the splintered area well.
- Wrap with thread or fiberglass tape: For added strength, wrap tightly, then cover with more epoxy.
- Let it cure: Wait 24–48 hours.
This method restores some strength but may not fully match the rod’s original feel. Use this repair for backup rods or non-critical situations.
Rewrapping Guides After A Repair
If the break is near a guide (the rings where your line passes through), you’ll need to remove and replace the guide.
- Remove the guide and old thread using a sharp knife.
- After repairing the rod, position the guide and wrap with new thread.
- Apply a thin layer of epoxy or rod finish over the wraps.
- Let dry fully before use.
Rewrapping guides is a skill on its own, but many online videos and articles can help. Don’t skip this step—misaligned guides affect casting and line wear.
Safety Precautions And Common Mistakes
Repairing rods involves sharp tools and strong adhesives. Always work in a well-ventilated area and keep fingers clear of blades. Wear gloves when using epoxy.
Common mistakes beginners make:
- Not waiting for glue to cure fully
- Using too much glue (which adds weight)
- Not aligning guides
- Choosing the wrong sleeve size
Take your time, and double-check every step. A rushed repair often leads to disappointment.
Alternative: Professional Repairs
If you’re unsure or the rod is expensive, consider a professional repair service. Many tackle shops offer this, or you can send the rod to a specialist.
Professional repairs may cost $20–$60, depending on the damage. For high-end rods, this is often worth it. They have access to matching blanks and guides, ensuring the repair is almost invisible.

Credit: www.wikihow.com
When Not To Attempt A Repair
Some rods are not worth fixing:
- Severe split near the handle: Hard to fix, not safe.
- Multiple breaks: Too weak after repair.
- Cheap rods: Sometimes the cost of materials exceeds the rod’s value.
In these cases, use the rod for parts (sleeves, guides) or recycle it.
Practical Tips For A Lasting Repair
- Use minimal glue: Too much adds weight and affects action.
- Align carefully: Misaligned guides or a crooked rod will cause frustration on the water.
- Practice on an old rod: Your first repair may not be perfect. Use a cheap or broken rod to learn.
- Label your repair: Mark the repair date and method. If the same spot breaks, you’ll know why.
How Repairs Affect Rod Performance
After a repair, your rod may feel a bit different. It might be slightly heavier at the repair point, or the action may become stiffer.
Here’s a simple comparison:
| Before Repair | After Repair |
|---|---|
| Original rod action | May be stiffer |
| Lightweight | Slightly heavier at repair |
| Factory finish | Visible repair area |
For most anglers, these changes are minor. But if you fish tournaments or need maximum sensitivity, you may notice the difference.
Preventing Future Breaks
Prevention is often easier than repair. Here are some tips:
- Transport with care: Use rod tubes or cases. Never force rods into tight spaces.
- Check for damage: Inspect your rod before each trip. Small cracks can grow.
- Use the right rod for the job: Heavy rods for big fish, light rods for small catches.
- Avoid high sticking: Don’t lift fish by raising the rod straight up; this stresses the blank.
- Clean your rod: Salt, sand, and dirt can weaken the finish over time.
Non-obvious insight: Always loosen your drag when storing your rod. Tight drag increases tension and can lead to breakage during transport.
Credit: www.youtube.com
Upgrading Your Rod During Repair
If you’re already repairing your rod, consider small upgrades:
- Replace old guides with smoother, higher-quality ones.
- Add decorative wraps or color accents.
- Use lightweight sleeves for less added weight.
These upgrades can make your rod feel new and unique.
Environmental Impact: Repair Vs. Replace
Repairing is more eco-friendly than replacing. Every year, millions of rods end up in landfills. By fixing your rod, you reduce waste and save resources.
For rods you cannot repair, check if your local tackle shop recycles old equipment. Some brands even offer recycling programs or discounts for returning old rods.
Real-world Example: Fixing A Snapped Rod
Imagine you’re fishing, and your medium-action graphite rod snaps while fighting a big bass. The break is about 18 inches from the tip, a clean snap.
- You collect both pieces.
- At home, you measure the inner diameter and cut a piece from an old rod as a sleeve.
- You sand both broken ends and dry fit everything.
- With epoxy ready, you glue, align, and tape the repair.
- After 24 hours, you wrap thread for extra support and finish with varnish.
- Two days later, you test the rod—strong enough for another day on the lake.
This simple approach has saved thousands of rods for anglers around the world.
How Long Does A Repaired Rod Last?
A well-repaired rod can last for years, especially for light use. However, the repair area is always a weak point. Use it as a backup or for less demanding trips. For critical fishing, consider using a non-repaired rod.

Credit: www.reddit.com
Cost Comparison: Repair Vs. Replacement
Here’s an average breakdown:
| Item | Cost |
|---|---|
| Epoxy glue | $5–$10 |
| Sleeve/insert | $0–$10 (if recycled) |
| Thread/varnish | $3–$7 |
| Replacement tip | $5–$12 |
| Professional repair | $20–$60 |
| New rod | $30–$200+ |
DIY repair is usually the cheapest option, especially for rods with personal value.
Useful Resources And Where To Learn More
Many manufacturers and fishing forums offer guides and videos. For in-depth repair tips, check out the Wikipedia page on fishing rods, which provides a solid overview of rod materials and construction.
Frequently Asked Questions
How Do I Know If My Fishing Rod Is Worth Repairing?
If the rod has sentimental value, was expensive, or the break is clean and away from the handle, it’s usually worth fixing. For cheap rods or severe breaks near the grip, replacement makes more sense.
Can I Fix A Rod That Broke In Several Places?
It’s possible, but not recommended. Multiple repairs weaken the rod too much, making it unsafe and unreliable. Use such rods for parts or practice repairs.
Will A Repaired Rod Be As Strong As Before?
No repair restores 100% of the original strength. The repaired area is always a little weaker. However, for light to moderate fishing, a good repair is often strong enough.
What Type Of Glue Is Best For Fishing Rod Repair?
Two-part epoxy glue is the best choice. It creates a strong, durable bond that resists water and flexes with the rod.
Where Can I Get Rod Sleeves Or Inserts For Repair?
You can buy sleeves at tackle shops or online. As an alternative, use a segment from an old or broken rod, making sure it fits snugly inside or over your current rod.
Fixing a snapped fishing rod takes patience, but it’s a skill worth learning. Not only do you save money, but you also keep your favorite gear ready for more adventures. Remember to practice on old rods, follow each step carefully, and don’t rush the process.
With a little effort, you’ll be back on the water, casting and catching, with a rod that’s earned a second chance.